May 8, 2026
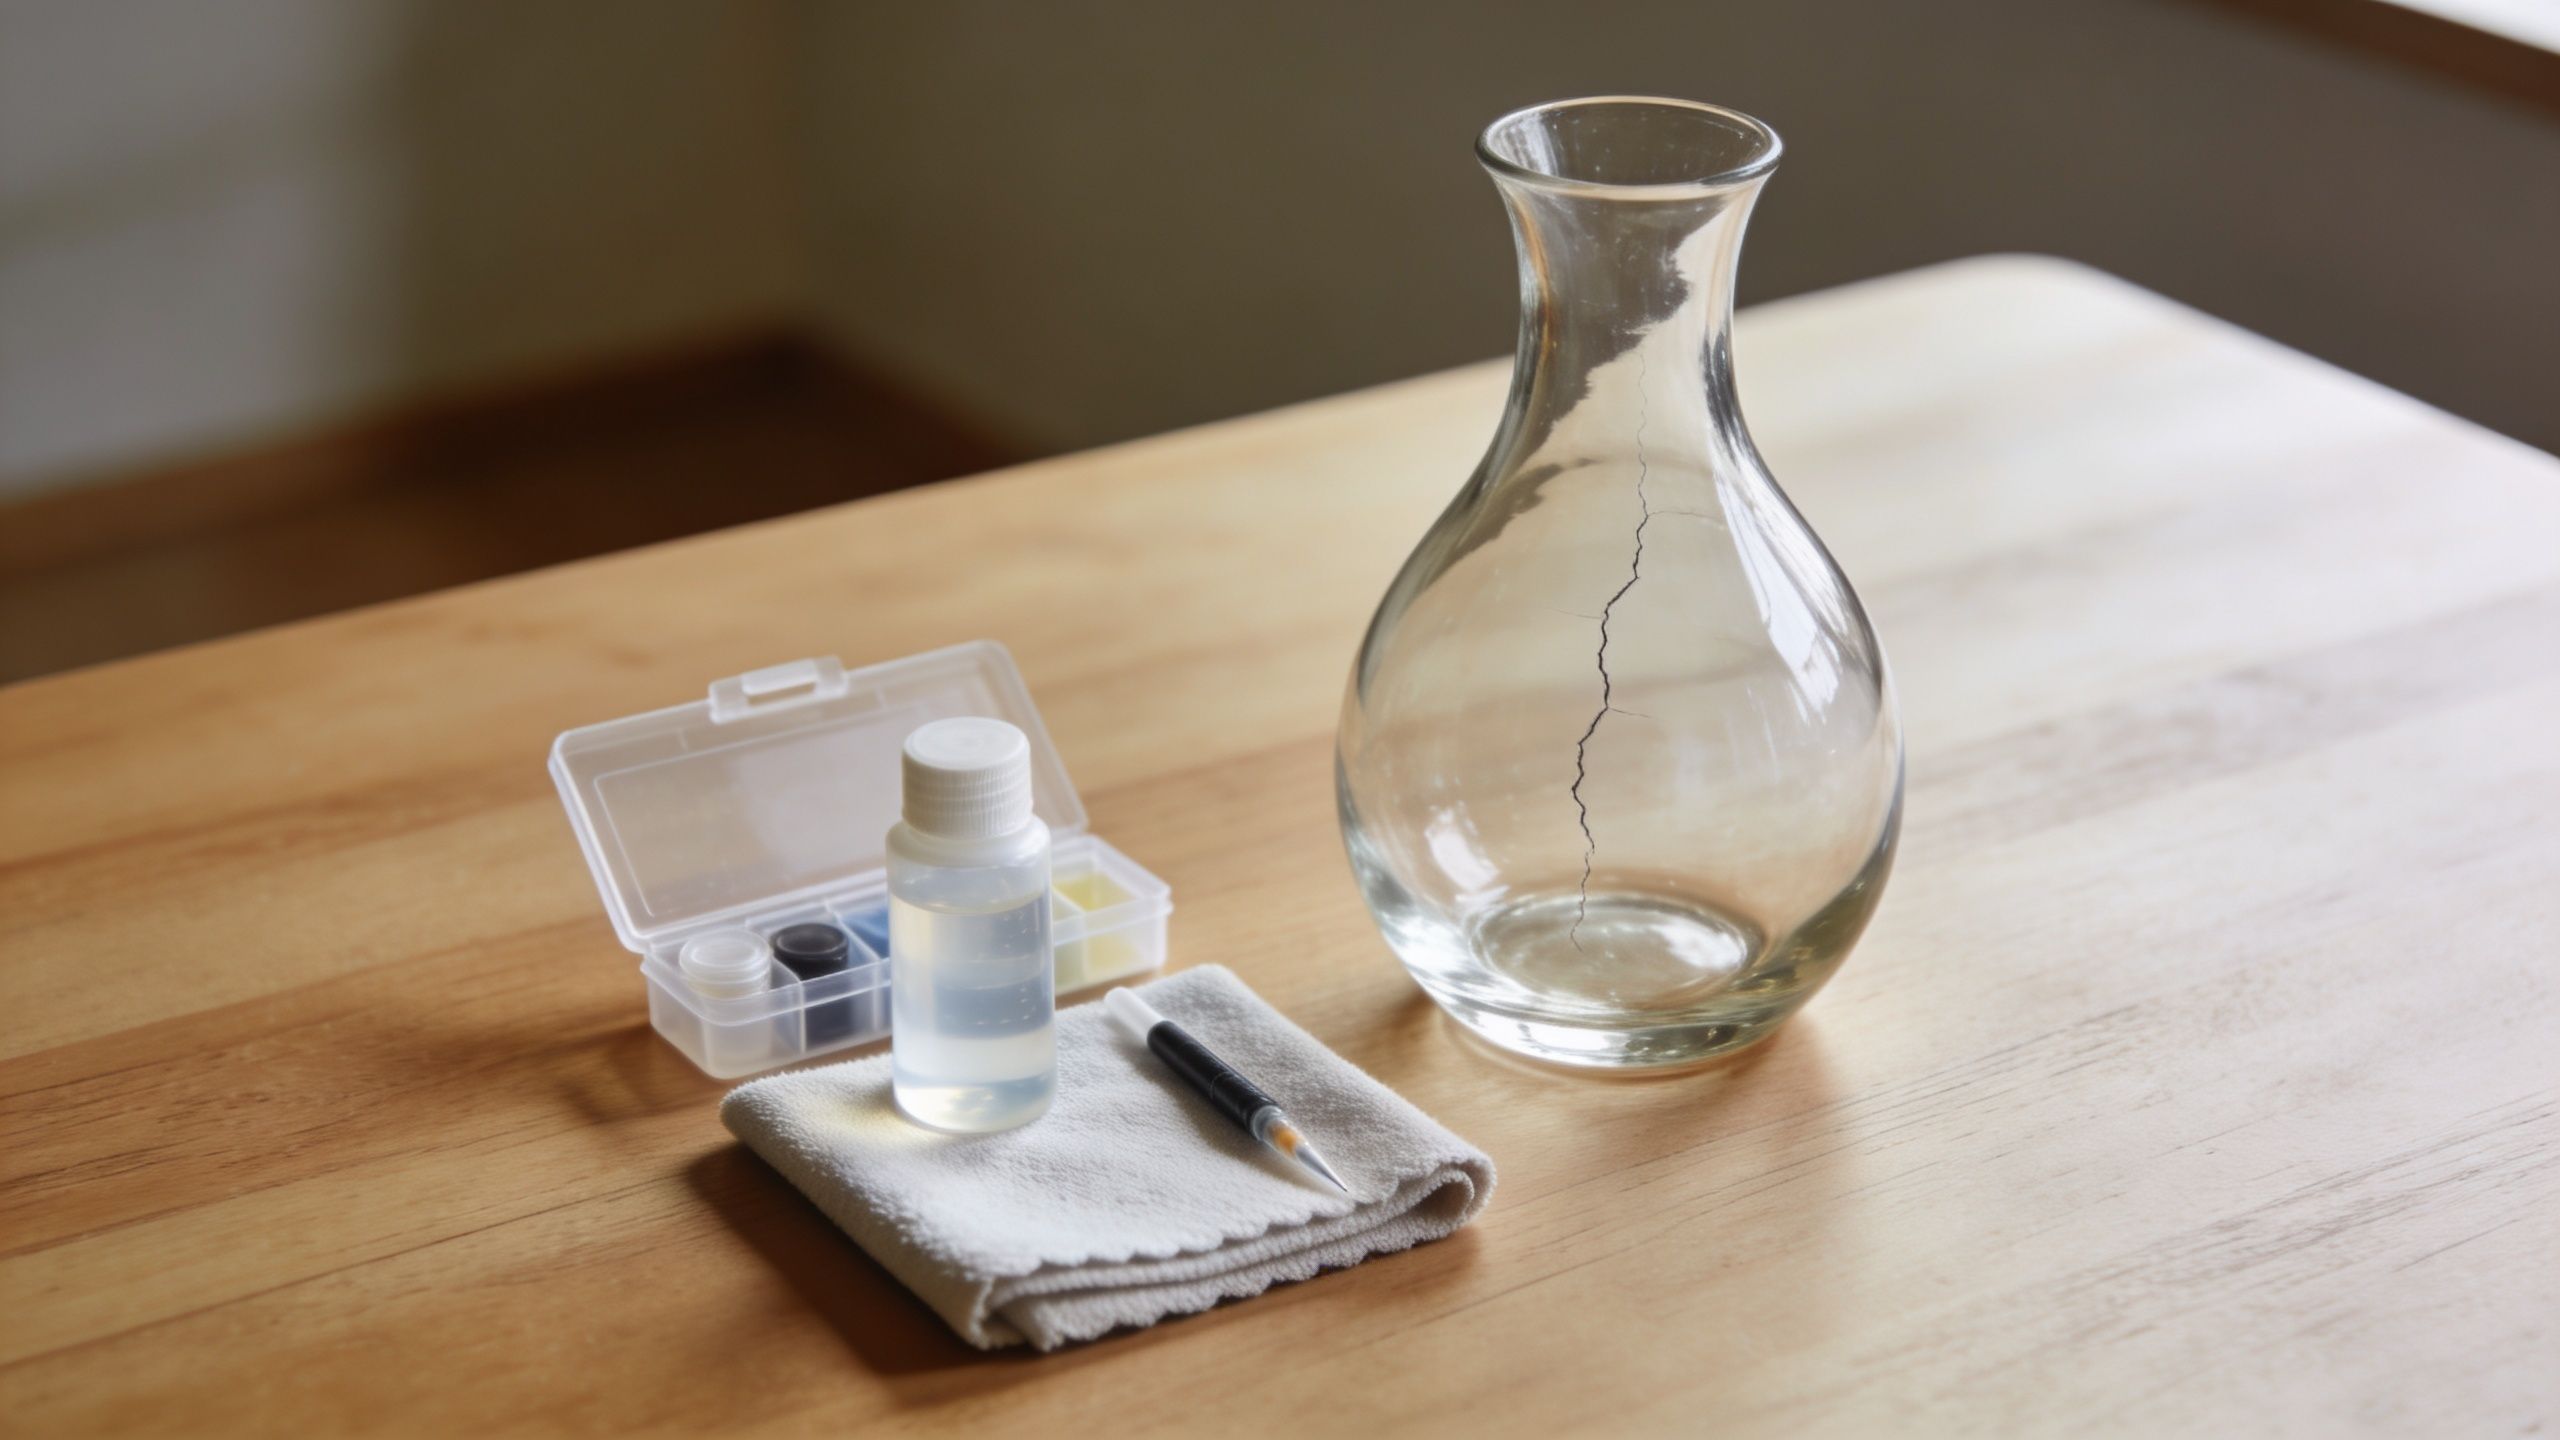
A fine glass vase rarely cracks at a convenient moment. It happens while you're rinsing out old stems, moving shelves, or noticing a line that wasn't there yesterday. If it's a vintage Scandinavian piece, the problem feels larger than the damage itself. You're not just looking at glass. You're looking at colour, form, memory, and often a piece of design history.
The first instinct is usually to fix it fast. That's understandable, but speed is what ruins many otherwise salvageable pieces. A quick blob of superglue, a strip of household tape, or a “good enough” repair can cloud the surface, stain the crack, and reduce both the beauty and the value of the vase.
When people ask about laga spricka i glasvas, the question isn't only “How do I mend this?” It's “Should I mend it myself, stabilise it, or hand it to someone who works with collectible glass every day?” The right answer depends on the crack, the type of vase, and whether the piece is decorative, sentimental, or valuable.
A crack in a cherished vase changes the object immediately. Even a thin hairline makes you handle it differently. You lift it more carefully, you stop filling it with water, and you start wondering whether one more temperature change will turn a crack into a split.
That pause is useful. It keeps you from making the most common mistake, which is treating glass like ceramic or wood. Glass doesn't forgive rushed repairs. It shows glue lines, it reacts badly to uneven pressure, and once the wrong adhesive gets into the crack, a later professional repair becomes harder.
Many home repairs fail for exactly that reason. A 2025 Konsumentverket report states that 68% of home-fixed glass items crack further within six months due to mismatched adhesives, especially where temperatures swing noticeably, such as in Dalarna's climate, as noted in this Konsumentverket-cited reference.
Don't wash the vase immediately. Don't press the crack to “see how bad it is”. Don't run glue into it before checking whether the piece is worth more as a careful restoration project than as a DIY repair.
Start with three questions:
Is it structural or superficial
A scratch can be lived with. A crack that catches a fingernail or runs from rim to base is another matter.
Is the vase meant to hold water again
Decorative display and functional use are different categories. A repair that's acceptable on a shelf may be unsafe on a dining table.
Is the piece collectible
Signed studio glass, older Orrefors, Kosta Boda, or inherited art glass deserves slower decision-making.
Practical rule: If you feel anxious about “getting only one chance”, you probably shouldn't start with a permanent DIY adhesive.
A cheap modern vase and a signed vintage Scandinavian vase shouldn't be treated the same way. One can tolerate a visible stabilising repair. The other may deserve conservation-level work, or no intervention at all beyond careful storage.
That's why the best approach starts with assessment, not glue. Once you know what has cracked and why it matters, the next move becomes much clearer.
The first proper step in laga spricka i glasvas is diagnosis. Good repairs begin with restraint. You need to know whether the vase has a manageable hairline crack, an active structural fracture, or old damage that has already shifted.
Set the vase on a padded towel under strong side lighting. Turn it slowly. A true crack usually shows as a line with depth and direction, not just a surface mark. If the line turns white at one point, branches, or reaches the base, treat it as unstable.
Use this checklist:
Check the length and path
A short rim crack is often less risky than one that runs through the body or into the foot.
Test with light, not pressure
Shine a torch or phone light through the glass. Stress lines often reveal themselves more clearly when illuminated from behind.
Look for movement
If the edges shift when you gently reposition the vase, stop. That's no longer a minor repair.
Inspect the finish and signature
Ground pontils, etched signatures, and distinctive colour overlays can indicate a piece worth preserving professionally.
If you collect Scandinavian decorative arts, it helps to look at related forms and finishes in old glass and window work. The visual discipline involved in reading damaged surfaces is similar to what you see in traditional stained glass windows, where hairlines, tension points, and previous repairs all tell a story.
For a minor, non-structural crack, keep the kit simple and deliberate:
Household superglue is tempting because it's fast. Fast isn't the same as clean, stable, or reversible.
There's another reason to avoid casual sealing products. Boverket notes that soft sealants used in single-stage crack repairs have a short lifespan of 10 to 15 years and can increase moisture ingress risk by 30 to 50% during wind-driven rain, a building principle discussed by Sweden's National Board of Housing, Building and Planning. In a vase, the same lesson applies in miniature. If the repair relies on a soft, ageing barrier rather than a stable bond, water and thermal stress will find the weak point.
For collectible glass, preparation is never wasted time. It protects the object from the person trying to save it.
A DIY repair only makes sense when the crack is minor, stable, and not in a high-stress area. If the vase is decorative and the line is fine, you can often improve both appearance and handling strength with a careful epoxy fill. The aim isn't to make the vase “as new”. The aim is to stabilise the damage cleanly and with as little visual disruption as possible.
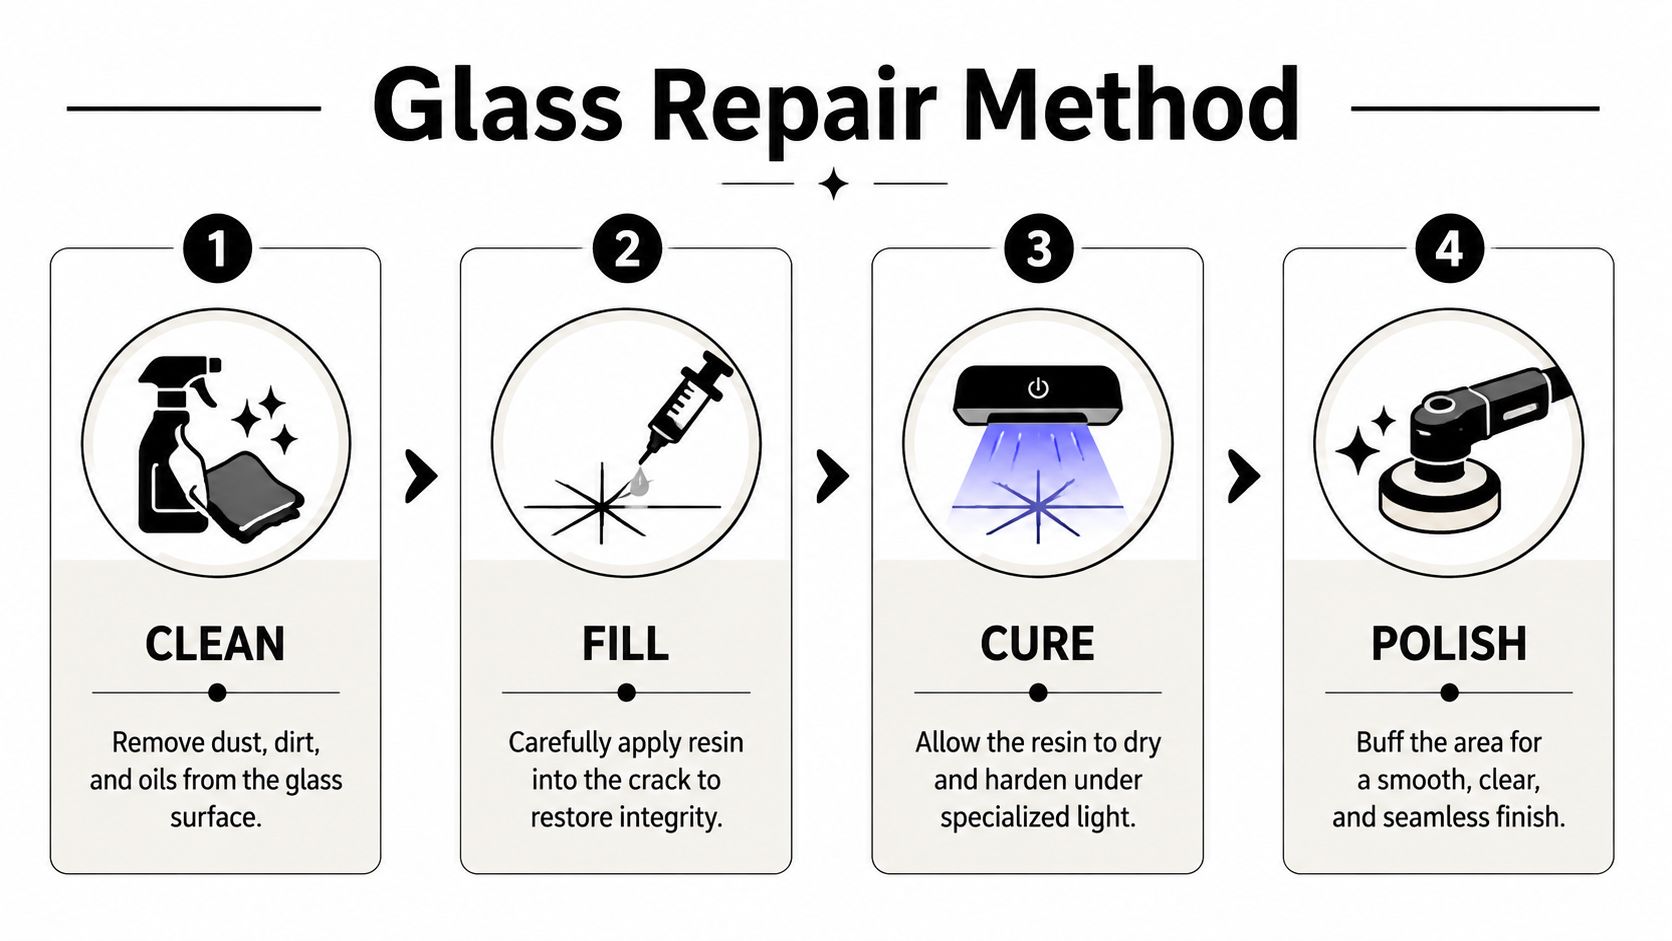
Start with a dry vase. If it has been rinsed recently, leave it long enough that no moisture remains in the crack. Moisture trapped inside can cloud the bond and weaken it.
Clean only the immediate area around the damage. Dampen a lint-free cloth or cotton bud with isopropyl alcohol and remove grease, dust, and flower residue. Don't soak the crack. You want the area clean, not flooded.
If residue has built up inside the line, repeat light cleaning rather than scrubbing harder. Pressure spreads damage.
Mix a clear two-part glass epoxy exactly as directed by the manufacturer. Don't guess the ratio and don't mix a large amount. A tiny batch gives better working control and reduces waste.
Then work in this order:
Steady the vase
Nest it on a folded towel so it cannot rock or roll.
Load a toothpick, not the bottle tip
Pick up a small amount of mixed epoxy and touch it to the crack. Capillary action may help draw it in.
Feed the line slowly
Move along the crack in short sections. The goal is penetration, not a thick surface bead.
Remove excess before cure
Wipe stray adhesive immediately with a barely dampened cloth or a fresh cotton bud. Keep your touch light.
Tape only if needed
If the crack edges need support, use low-tack painter's tape to hold alignment without squeezing the glass.
A visual walk-through can help if you haven't done this sort of work before.
Most poor repairs are disturbed too early. Leave the vase completely alone while the epoxy cures. Don't test the bond. Don't rotate the vase to “check the shine”. Fresh resin can shift long before it feels hard to the touch.
After curing, inspect in raking light. If there is a slight ridge, you may leave it alone if the vase is decorative. Aggressive sanding or polishing by an inexperienced hand often creates a hazy patch larger than the original crack.
A good minor repair has three traits:
This approach is best for hairline cracks in non-structural situations. It can make a shelf piece presentable again and may stop a small flaw from worsening under ordinary indoor handling. It is not the right method for a crack at the base, a spreading fracture, or a valuable signed vase where conservation ethics matter.
The most successful DIY glass repairs are modest ones. If you try to make a damaged collectible look factory-new at home, the repair usually starts to announce itself.
Not every cracked vase should be given a permanent repair straight away. Sometimes the smartest move is to stabilise, label, and wait. That's especially true when the vase is valuable, historically interesting, or likely to go to a conservator later.

A temporary fix makes sense in a few specific situations:
Transport to a professional
A light stabilising measure can stop vibration from worsening an existing fracture.
Display-only use
If the vase will never hold water again, a reversible support may be enough.
Undecided attribution or value
When you're still researching the maker, it's wise not to commit to a permanent adhesive.
Complex crack pattern
Multiple branches or old repairs call for restraint, not enthusiasm.
Museum-minded temporary methods favour materials that can be removed with less risk. Archival tape, carefully placed for transport support only, can help in some cases. Reversible conservation materials are often more suitable than household glues because they don't lock you into a poor decision.
For valuable but non-structural repairs, there's also a more conservation-friendly route. Professional restorers at Sweden's Nationalmuseum sometimes recommend reversible fixes using materials like Japanese urushi resin, which has shown a 92% success rate in Stockholm workshops for non-structural repairs on valuable glass, according to this reference discussing urushi resin in Swedish restoration contexts.
Temporary support is for holding a condition steady. It isn't permission to use the vase normally.
Avoid clear packing tape, bathroom silicone, hobby glue, and thick superglue gel. These leave residue, yellow over time, and often pull attention away from the object itself. They can also complicate any later conservation work.
If you do apply a temporary measure, add a note and keep it with the vase. Write that it is cracked, currently stabilised, and should not be filled with water. That small act prevents a well-meaning family member from treating it as repaired when it isn't.
Some pieces should never be a first attempt. If the vase is signed, rare, historically important to your collection, or very sentimental, the safest choice is often professional treatment from the start.

Hand the job over if any of these apply:
Collectors of Scandinavian art glass often underestimate how much condition influences both display quality and provenance. If you own pieces in the spirit of strong Swedish modernist design, such as those admired in Kosta Boda Polar, it makes little sense to protect the name and then gamble with the condition.
A conservator or experienced glass specialist is not just superior at applying adhesive. They assess stress in the object, old restoration materials, and whether intervention should be visible, invisible, or reversible. Their goal is not just holding the crack closed. It's preserving the integrity of the piece.
For high-value art glass, Swedish master glassworkers may use thermal re-fusion. According to 2023 to 2025 surveys of glasmästare, this technique has a 75 to 85% success rate for cracks under 5 cm, as discussed in this reference to Swedish master-glazier repair practice. That process belongs in expert hands. It involves controlled heating, stress management, and finishing techniques that are far beyond a home setup.
A skilled conservator treats the crack and the history attached to it. That's why the result often feels quieter and more respectful than an eager home repair.
Sending a vase away or consulting a conservator can feel like admitting defeat. It isn't. It's often the most disciplined decision you can make. Good collectors know that restraint is part of stewardship.
The hardest pieces to restore are often the ones that were “fixed” quickly and incorrectly years earlier. If there's any doubt, preserve the option of a proper intervention by keeping the vase clean, dry, padded, and unaltered until someone qualified examines it.
Once the repair has cured, don't rush the final handling. A repaired vase should be treated as a stable but altered object. It may look almost unchanged, but its future depends on gentler care than before.
If a tiny film of adhesive remains on the surface, remove it cautiously. A wooden stick, a fingernail through a soft cloth, or very restrained solvent use around the residue is safer than scraping hard at the glass. If you're tempted to use a blade, stop unless you're experienced. One slip can create a fresh scratch that catches light more harshly than the old crack.
For polishing, keep expectations realistic. The aim is to reduce distraction, not erase history. A soft microfibre cloth and patient hand-polishing are often enough.
A repaired vase deserves a new routine:
Historical Swedish glass data gives a good reason for this caution. Repaired glass items showed a mean lifespan reduction of 30 to 40%, and only 60% lasted over 10 years after repair, according to this 1913 Swedish glass industry report. That doesn't mean a repair is pointless. It means repaired glass benefits from calmer use and fewer stresses.
If you collect Scandinavian glass more broadly, it helps to study how designers handled form, thickness, and finish across makers and periods, including figures such as Björn Ramel in glass. The better your eye becomes, the easier it is to distinguish a harmless scar from a sign that the object should be retired from everyday use.
A careful repair can keep a vase presentable and meaningful for years. The secret isn't magic adhesive. It's judgment, patience, and respect for what the object is.
If you appreciate Swedish craftsmanship and want to build a home around authentic folk art and collectible design, explore Dalaart. Their selection celebrates genuine Swedish heritage, from hand-carved Dala horses to carefully curated vintage pieces that sit beautifully alongside Scandinavian glass.


.svg)


.png)


